
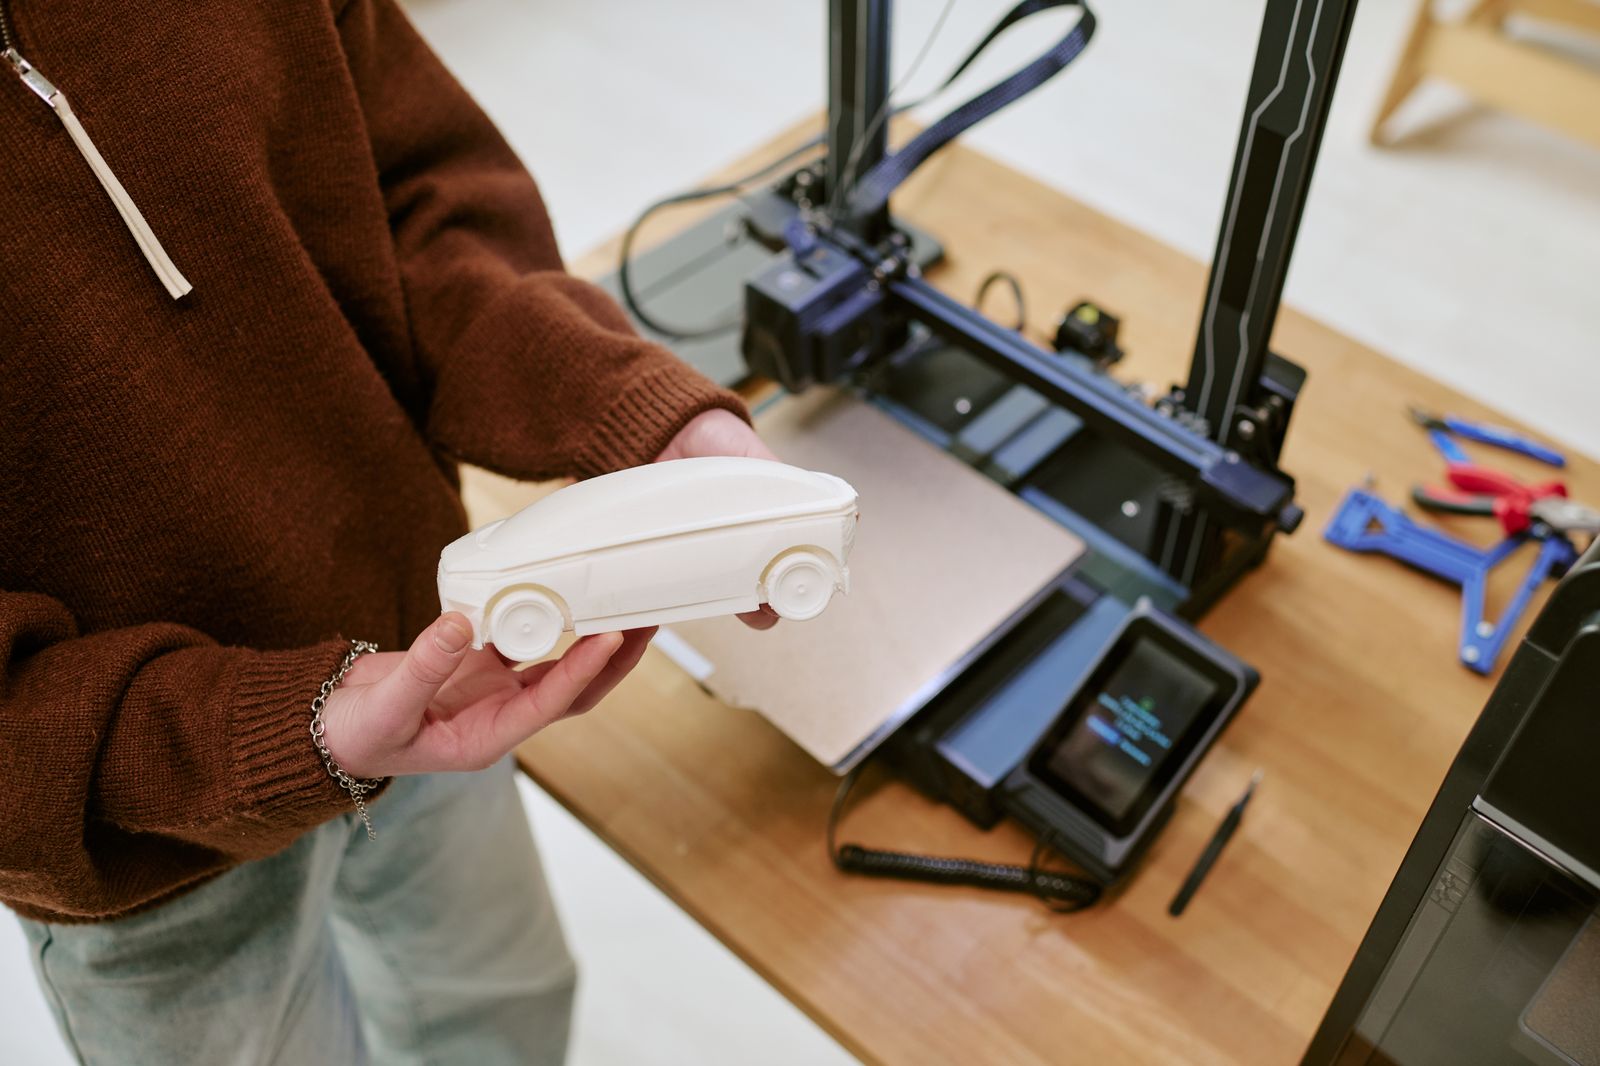
Someone unfamiliar with rapid prototyping tends to picture a single dramatic step: a 3D printer humming away overnight, and a finished object appearing by morning. The actual process has more stages than that image suggests, and most of the time and judgment involved happens before a machine ever turns on. Here is what actually happens between a concept and a model you can hold.
Step one: translating a sketch into a digital model
Before anything can be printed, machined, or molded, the concept has to exist as a precise digital file, typically built in CAD software such as Fusion 360 or SolidWorks. This is where a huge share of the real design decisions get made: wall thickness, tolerances, how parts will fit together. A sketch communicates an idea to a person. A CAD model has to communicate exact dimensions to a machine, which is a much less forgiving audience.
Step two: choosing a fabrication method that matches the question
The next decision is which physical process will actually produce the object, and this is where most efficiency gets won or lost. Additive manufacturing (3D printing via FDM, SLA, or SLS) suits complex geometry and single units. CNC machining suits tighter tolerances and small batches in metal or engineering plastics. Neither is universally “better.” The right choice depends entirely on what question the prototype needs to answer, not on which machine happens to be available in the studio that week.
Why this choice gets made too casually
Teams often default to whichever machine they already own rather than the one suited to the test. A part that needs to survive real mechanical load gets 3D printed in a weak plastic simply because the printer is sitting in the next room, and the resulting test tells the team almost nothing useful about how the part will actually perform.
Step three: producing the physical or digital prototype
Once the method is chosen, production itself is often the fastest part of the whole sequence, sometimes hours for a small 3D-printed part, longer for a CNC-machined piece requiring setup and tooling. Digital prototypes, clickable interface mock-ups built in tools like Figma, follow a parallel logic: the “production” step is assembling interactive states rather than cutting material, but the same principle of matching fidelity to the question applies just as strictly.
Step four: testing against the specific question, not general impressions
A prototype exists to answer a question that was defined before it was built, whether that is “does this fit the hand comfortably” or “can a first-time user complete checkout without help.” Testing without a defined question in advance tends to produce vague feedback (“looks nice”) rather than actionable data. The teams who get the most out of this step write down what they expect to learn before a single person touches the prototype.
- Concept sketch: communicates the idea to people, not machines.
- CAD model: converts the idea into exact, machine-readable dimensions.
- Fabrication method: chosen to answer a specific question, not out of convenience.
- Physical or digital build: often the fastest stage in the whole sequence.
- Structured testing: measured against a question defined in advance.
Step five: feeding results back into a revised model
Whatever the test reveals gets folded back into the CAD file or interface file, and the cycle repeats, usually at a tighter scope than the first pass. This is the step that separates rapid prototyping from a one-off demo: a demo ends after it is shown. A prototyping cycle assumes the current version is wrong in some specific, fixable way, and treats finding that flaw as the entire point of the exercise.
What this looks like for a physical object versus a digital interface
The five steps above hold for both a physical product and a digital interface, but the material changes what “testing” means in practice. A physical prototype gets tested against ergonomics, durability, and manufacturability. A digital prototype gets tested against comprehension and task completion. Neither loop is inherently faster; a complex mechanical assembly can take longer to iterate than a rough app flow, and vice versa, depending entirely on how many unknowns the concept still carries.
If you are trying to map this process onto your own project end to end, from the first sketch through handoff, our piece on mapping a modern designer’s workflow from sketch to prototype follows one practical path through these same steps. And once the mechanics of the process are clear, the next question most teams ask is what it actually costs to run, which we break down by method in our realistic breakdown of rapid prototyping costs.
Why speed is the point, not the shortcut
None of these five steps is unique to rapid prototyping on its own; engineers have moved from sketch to model to test for decades. What changed is how fast and cheaply each cycle can now run, which lets a team test more assumptions before committing to a final direction, a shift we cover from the process-discipline angle in iterative design and rapid prototyping. Faster cycles do not remove the need for judgment at each step. They just mean a team gets to be wrong, and correct course, many more times before the deadline than they used to.