
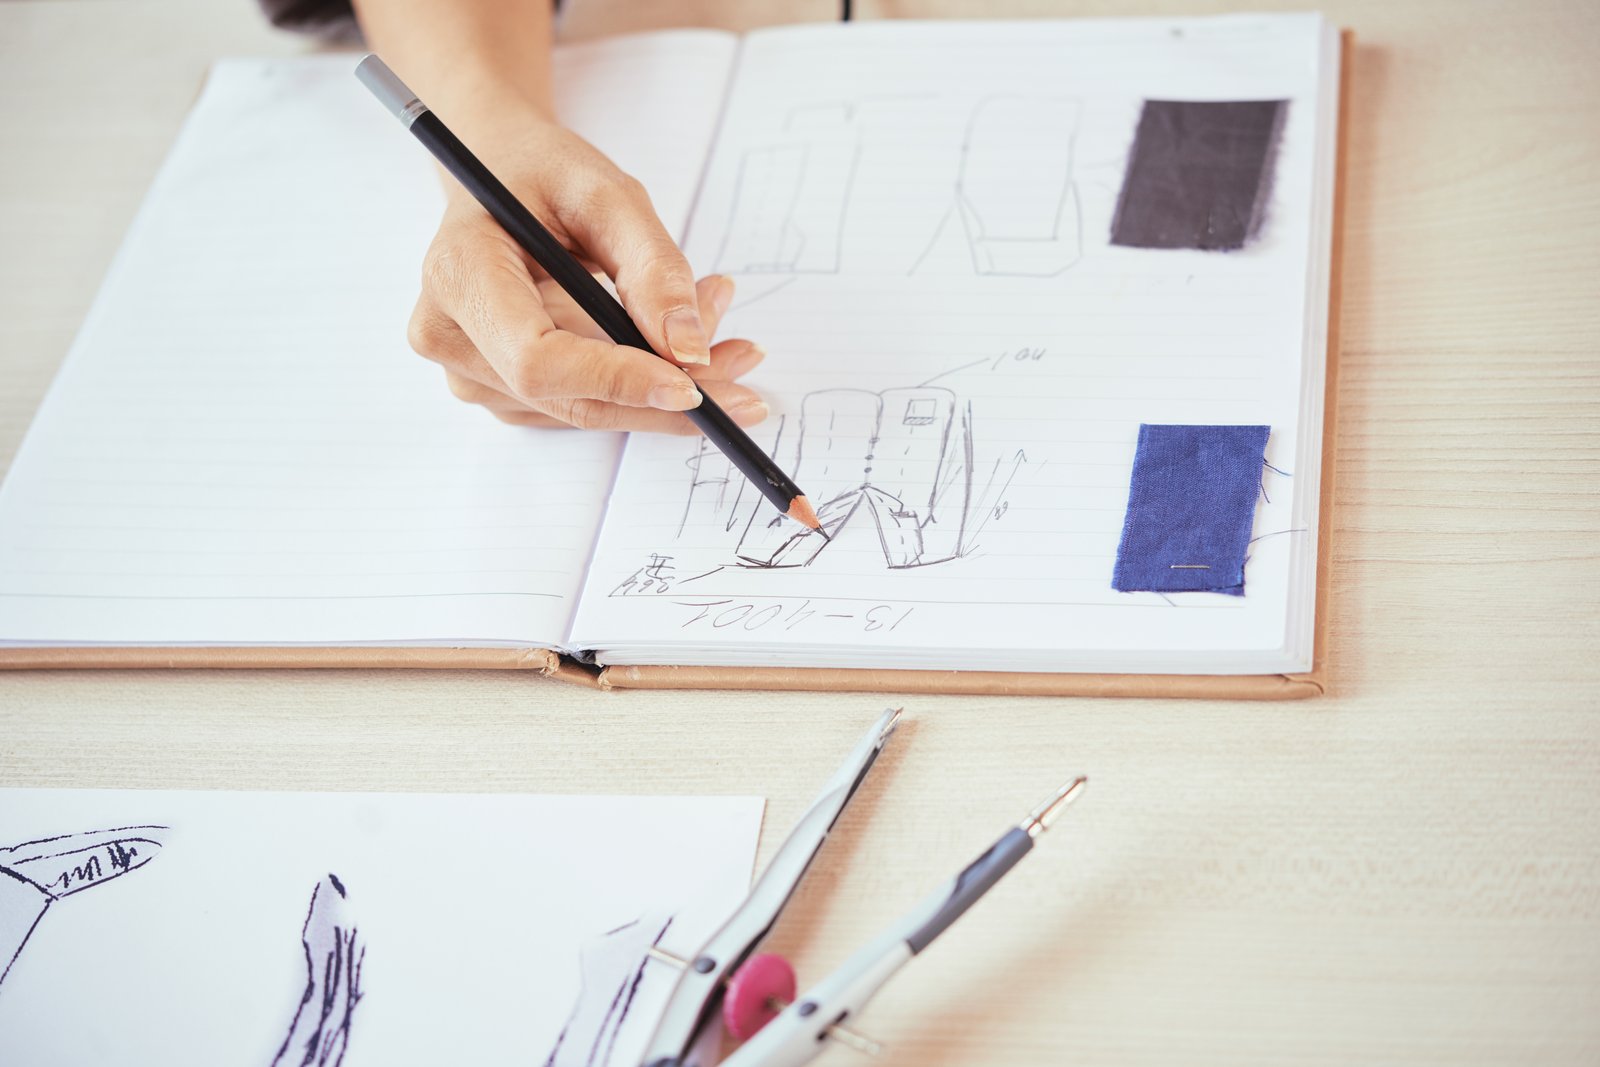
Follow one designer’s actual path from a napkin sketch to a working prototype, and it rarely resembles the clean four-box diagram found in a process slide. It winds through several tools, a few dead ends, and at least one moment where the digital file stops matching the idea that felt so clear on paper an hour earlier. Here is what that path actually looks like in practice, stage by stage.
Stage one: the sketch, kept deliberately rough
A first sketch, whether on paper or in an app like Procreate, exists to capture a feeling and a rough form before either gets lost to overthinking. The mistake we see most often at this stage is polishing too early: a designer spends an hour perfecting shading and proportion on an idea that a five-minute test might kill outright. The sketch’s only job is to be fast enough that trying five directions costs about the same as trying one.
Stage two: translating the sketch into a structured digital file
Once a direction survives that first gut check, it moves into a structured tool, Figma for a digital interface, or CAD software such as Fusion 360 for a physical object. This is where the idea has to become precise: exact spacing and component states for an interface, exact dimensions and material tolerances for an object. A surprising amount of a project’s real thinking happens here, not in the sketch, because vague choices that felt fine on paper now have to be resolved one way or the other.
Where this stage quietly derails a project
The handoff between sketch and structured file is where scope tends to creep. A designer building the structured version notices three more details worth solving and solves all of them before moving forward, turning what was meant to be a quick digitization step into a second full design pass. Protecting this stage means resisting the urge to solve every visible problem immediately.
Stage three: building the first testable prototype
The structured file becomes a prototype once it can actually be interacted with or handled, a clickable flow for software, a 3D-printed part for a physical product. The fidelity chosen here should match the question being asked, not the designer’s instinct to make things look finished. A low-fidelity prototype that answers the right question beats a beautiful one that answers the wrong one.
- Sketch: fast, disposable, captures the feeling of an idea.
- Structured digital file: resolves the vague choices a sketch left open.
- First prototype: fidelity matched to the specific question being tested.
- Feedback round: run against real users or real material, not internal opinion alone.
- Handoff: documented decisions, not just a final file.
Stage four: exposing the prototype to real feedback
This is the stage a solo designer’s workflow most often shortchanges, since testing requires someone else’s time and attention, which can feel harder to arrange than another round of solo refinement. Whether the feedback comes from a handful of target users or from a colleague with fresh eyes, this stage is what actually distinguishes a workflow from a private creative exercise. A prototype that never leaves the designer’s own screen has not really been tested at all.
Stage five: the handoff, and why it needs more than a file
A workflow ends, formally, when the design moves to whoever builds or manufactures it, a developer, a machinist, a production team. The most common failure at this stage is not a missing asset. It is a missing rationale: a decision that made sense in the designer’s head, why this particular material, why this specific spacing, never got written down, and gets silently reversed by whoever picks up the file next. Documenting the reasoning behind a handful of key decisions costs a designer ten minutes and saves the next person hours of guessing.
How this individual path connects to the team around it
This walkthrough follows one designer’s own path through the work, but it does not happen in isolation from the rest of a studio. The broader question of how a whole team stays aligned across these same stages, who owns which decision, how feedback actually reaches the right person, is a separate discipline we cover in our piece on getting from idea to product as a team. And for the mechanics behind stage three specifically, choosing between 3D printing, CNC, and other fabrication methods, see the concept-to-model breakdown of rapid prototyping.
The habit that separates a fast workflow from a fragile one
The designers whose sketch-to-prototype path holds up under deadline pressure are rarely the fastest sketchers or the most fluent CAD users. They are the ones who protect the boundary between each stage: sketch loosely, resolve precisely, test honestly, document briefly. Skipping any one of those four habits to save time in the moment tends to cost far more time later, usually at the exact point in the project when there is none left to spare.